First off, I’m majorly behind on my thank you cards for the boys’ birthday party. It was two weeks ago. That is my number one priority this weekend.
Second, I finally got around to placing my Sale-A-Bration order with Stampin’ Up! and received it yesterday. All in all, I ended up getting thirteen stamp sets!! So that required serious reorganizing. I organize all my stamps in a Crop In Style sticker storage binder. So there was a lot of moving around that needed to be done. I hadn’t organized the binder in probably a year.
I also got three punches in my order so I had to move things around there as well. I have quite limited storage so I always have to freshen up my area when I get a batch of new things. While moving around my punches, I decided to try and make my own cupcake like the cupcake punch that is in the current Occasions Mini Catalog. The punch makes a smaller cupcake than I would ever use and I don’t have a need for the punch.
So here is one of the cupcakes that I made, that will be on tomorrow’s card. Below I’ve gone through the steps, with pictures for clarification.

1. I punched out a little piece of paper in my scallop circle punch, going across five of the scallops.

2. Using a dauber, I sponged the cardstock with Pacific Point Ink.
3. Using Versamark ink, I embossed three layers of sparkle embossing powder.

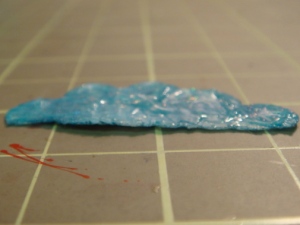
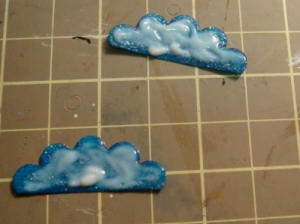
4. Using Tessler Glossy Paint in clear, I liberally added little peaks and swirls to imitate frosting. It takes about 45 minutes for the paint to dry.

5. To make the base of the cupcake, I cut out a piece of cardstock using my 1 3/8in square punch.
6. I stamped the cardstock using the background stamp, Solid Stripes, in Pumpkin Pie.
7. By hand, I cut the edges of the square to have a cupcake shape, trimming it down to an inch high.
-
Subscribe
Subscribed
Already have a WordPress.com account? Log in now.